The Truth About Mud Kitchens
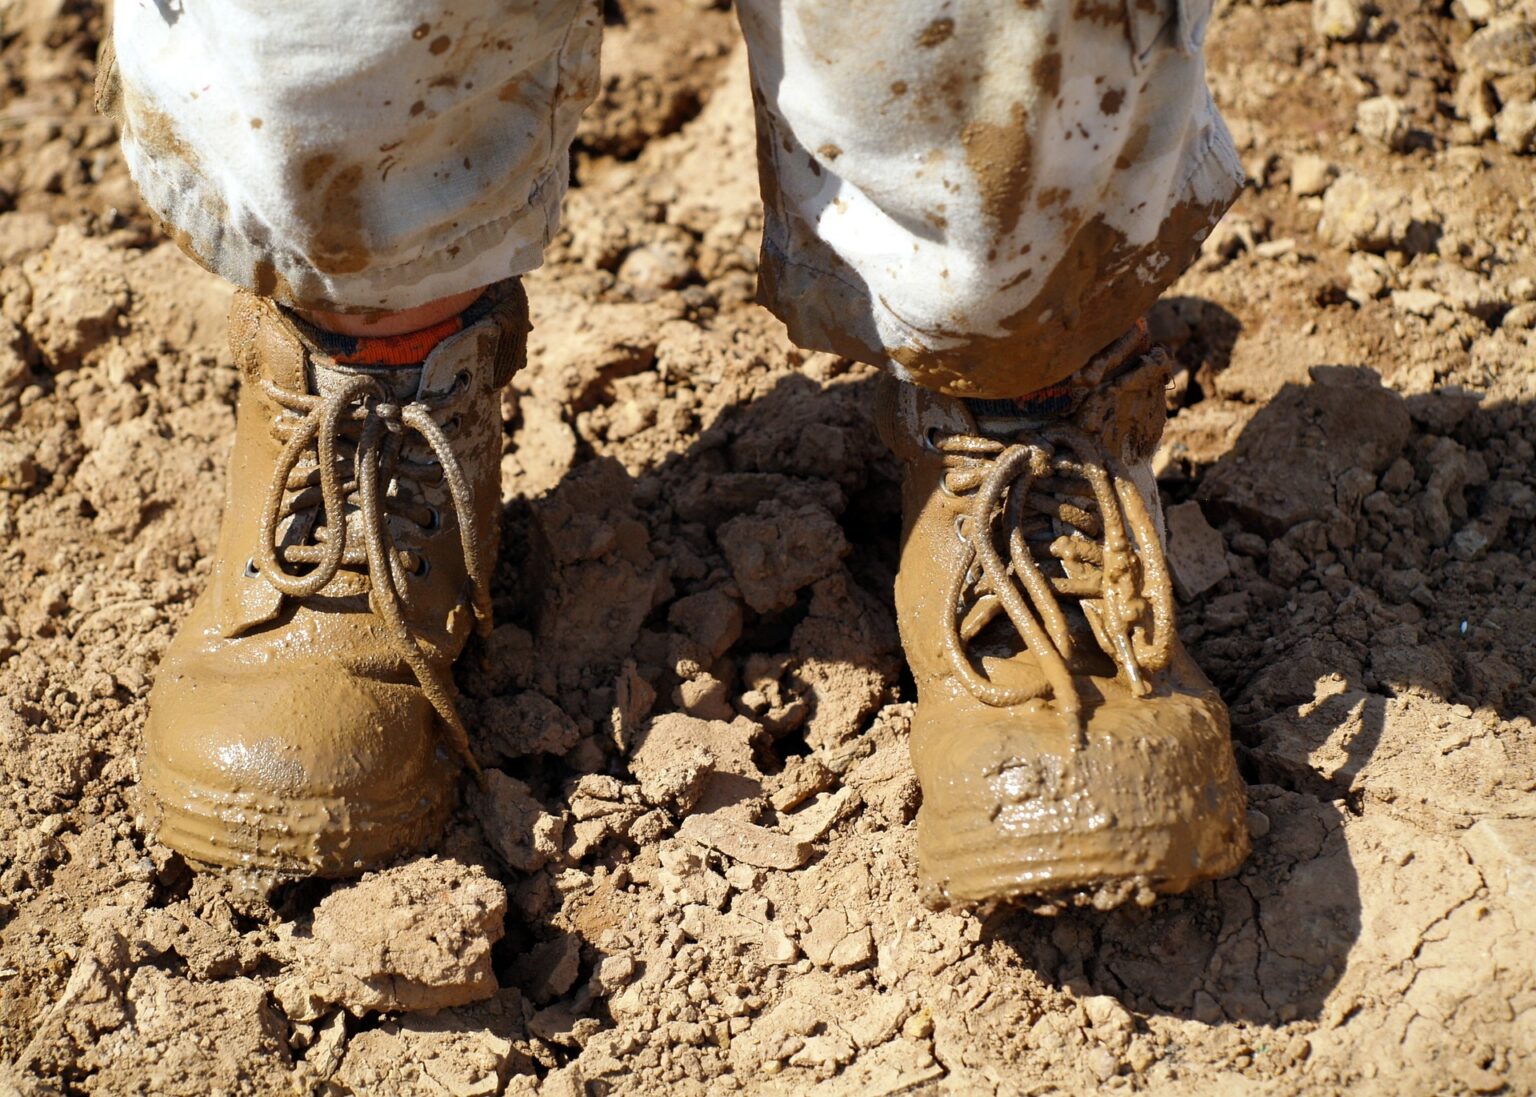
Even before I became a mom, I didn’t know much, but I KNEW I wanted my future kids to have a Mud Kitchen. Seems crazy right?! Like of all things, why would this be something I would want to prioritize for my kid? Several years before I had even met my husband or had any plans to have kids, I had visited my friend who lives out in Colorado Springs. She and her husband had built a Mud Kitchen for their kids in their backyard and I thought it was the coolest idea I’d ever seen. The idea that mom and dad built something so special that gets used all the time AND allows unlimited outdoor playtime… why haven’t I seen these all over the place!?
Well turns out, once you do some mild “Pinteresting” you do see a lot of them. Hand-made ones, store bought ones, plastic ones, wood ones, the list goes on and on… but I knew I wanted my husband and I to make one for our son and customize it into something special he would treasure for the years to come. Soooo with a little Pinterest inspiration and a trip to Lowe’s… we started our Mud Kitchen DIY journey. Here are the lessons we learned along the way…
This post may contain affiliate links, which means I’ll receive a small commission if you purchase through my links, at no extra cost to you. Please read full disclosure for more information.
1. This is NOT a one day job!
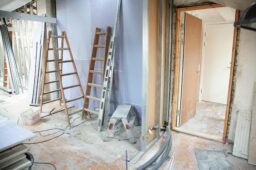
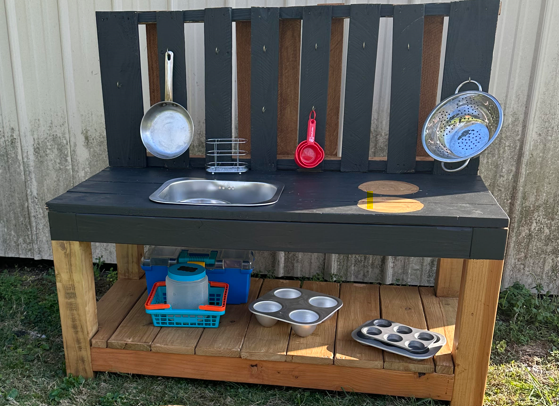
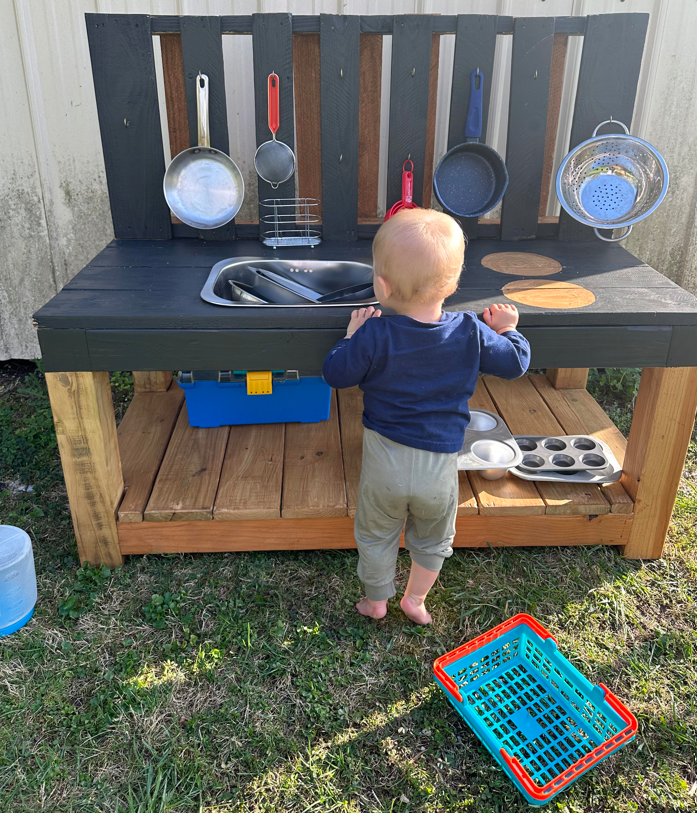
Sure, the Pinterest boards make these projects look so cute and easy… I was definitely fooled! My husband has a background in construction and wood working, so I thought we already had the upper-hand, but I was STILL wrong. What I thought would be a cute Saturday project, turned into more of a 2-3 week project! (I lost track of time!) We even started with a wooden shelf that he had already built and he just trimmed the wooden legs on it to make it the right height for a Mud Kitchen. So we already were ahead of the game, the majority of the table was already built for us… but that was only the beginning!
I had this crazy idea that I wanted to use up some of the old pallets in our barn for the Mud Kitchen. Looking back, I wish we would’ve just built something new ourselves, but instead my husband helped me attach the old pallet to the wooden table to give the Mud Kitchen a back wall. It looked okayyy but at this point I was committed to using the pallet so we stuck with it.
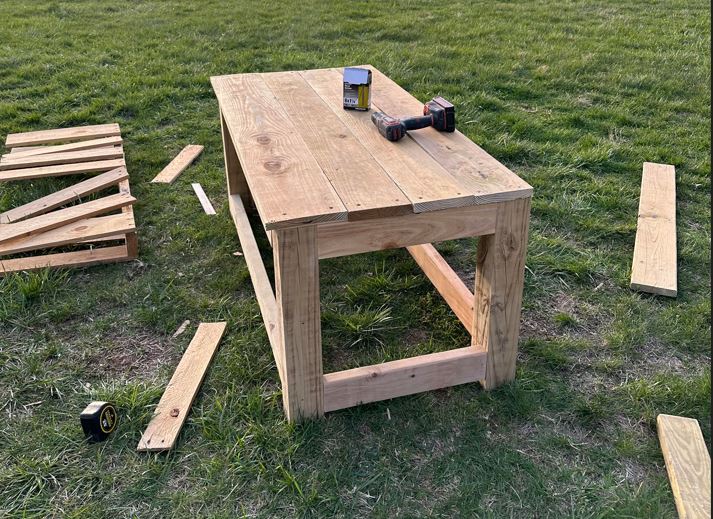
Once the pallet was attached to the table, then we had to clean the wood with water and soap. That had to dry for at least a day.
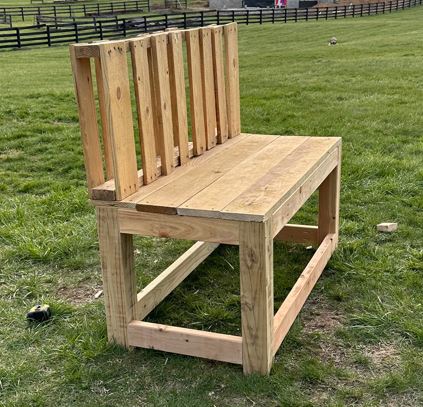
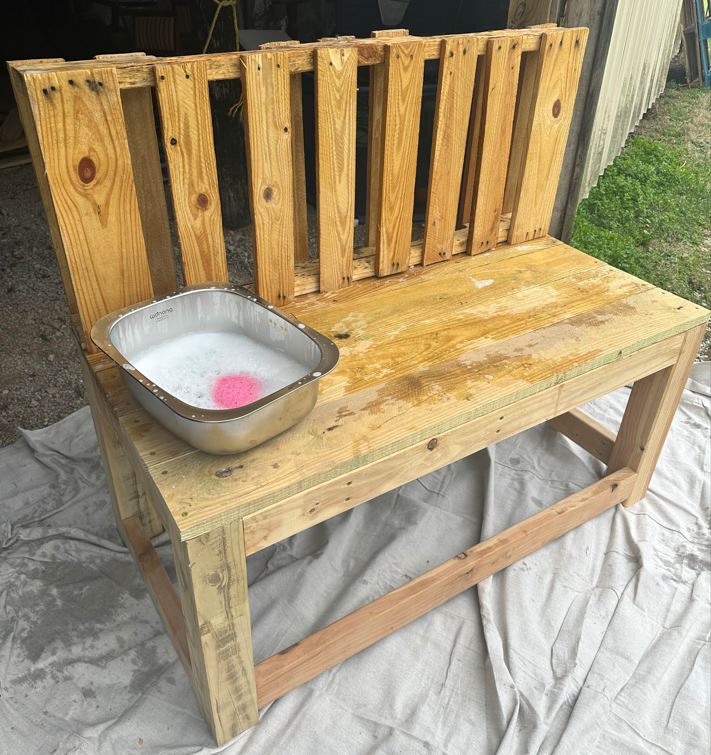
Next we had to fill in all the screw holes and let that dry for a day.
Then we had to sand down all the wood and let it sit for at least a day. My husband cut a hole for the sink that we bought and added some wood for the bottom shelf. Then we had to sand that down too.
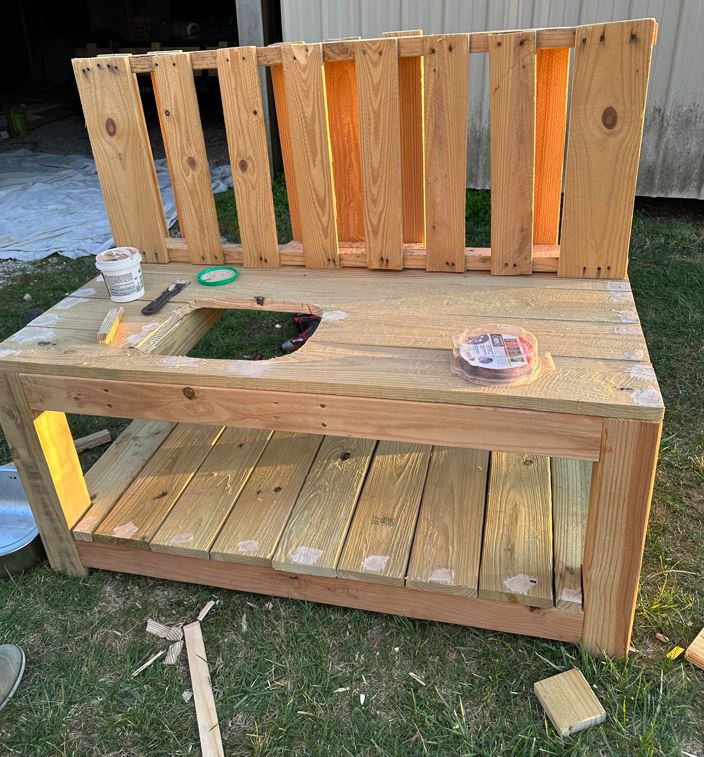
Finally we were able to add the prime and stain the table! However, since we used two different colors, we spread this out over a few days as well. We had to be sure different sections were dry before we could paint others. We also used a bowl to trace the “stovetop” outline. Then you have to very carefully prime that area with the two different colors. WOW. Who knew staining could take so long?!
Once all the stain was applied, we probably should’ve coated it with a sealer of some sort. But I was confident in our all-in-one stain we used and trusted that we could always re-stain it if needed. Plus we were too excited to show our son and let him start playing with it! We added some hooks, the sink, and toys… then *ta da* it was complete! ALMOST as perfect as I had imagined, but it took a WHOLE lot more time than I expected! That’s really the purpose of me writing this post, so that others aren’t tricked into thinking that making a Mud Kitchen can be done in a day! I would 100% do it again, and our son already loves it (still needs to grow into it a bit!). I definitely recommend getting your kid(s) a Mud Kitchen! Even if you buy one instead 🙂
S2. Make sure you get a sink with a hole!
This should have seemed obvious, but for some reason, the first sink we bought did not have a whole in the middle to let the water out. The one smart thing we did though was buy the sink BEFORE my husband cut the hole for it in the table, to make sure we had the right measurements. HIGHLY recommend doing that!
Here’s the sink we started with: 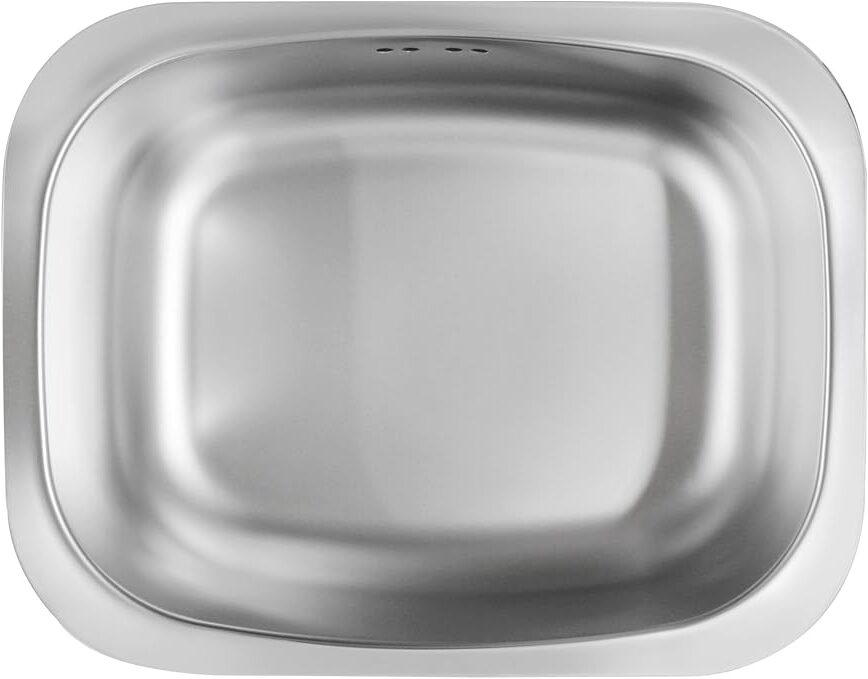
Here’s the sink we ended up with and works MUCH better!: 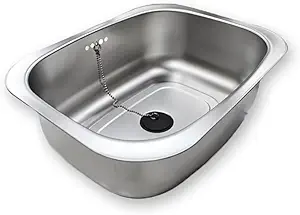
3. Use an all-in-one stain!
I thought this would save us more time than it did, but regardless, it still worked really well and still looks good months later!
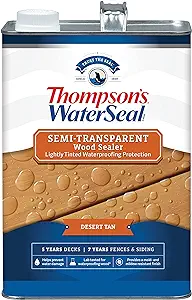
Highly recommend this stain we used! You can get it at Lowe’s or on Amazon. We used the color “Desert Tan” for the base of the table.
We used Behr Solid Color Exterior Wood Stain and Sealer in the color “Slate” for the backsplash or pallet part of the kitchen. You can find this at Lowe’s or Home Depot.
4. Don’t forget the fun stuff and you don’t have to spend a lot of money!
The best advice I found was to go to Goodwill and get kitchen supplies like baking sheets, muffin tins, mixing bowls, utensils, etc. and that’s exactly what we did! We had fun shopping for these items at our local Goodwill store. I was surprised to find so many smaller pots and pans that were perfect for a toddler Mud Kitchen! The only two items we ended up purchasing are this very cute toddler watering can and some toddler size stainless steel utensils that can be left outside. We also found he loves to use his gardening tools intermixed with his kitchen supplies, mostly for banging pots and pans. Ha!
We also got these cup hooks for the backsplash that worked perfectly to hang everything on.
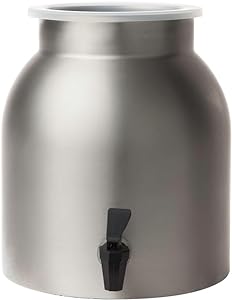
After using the Mud Kitchen for awhile, we realized we needed something to store water in for the sink. I searched forever for a solution that would work and that was stainless steel to stay outside. I’ve seen several examples of ones that get attached to the kitchen itself, but we wanted one we could carry back and forth to fill up with water at the hose (and clean!). We ended up getting this stainless steel water dispenser and unfortunately it did not come with a stainless steel spigot. So we had to get this stainless steel spigot too and it worked perfectly!
That’s it!
Hopefully this post doesn’t deter you from making your own Mud Kitchen. And instead helps you have more realistic expectations about the amount of time it will take! It’s well worth it in the end! Good luck!


