Designing a Functional Toddler Playroom
When we first found out we were pregnant, OF COURSE I was excited to start designing the nursery room, but I was almost more excited to design a playroom! We have this awkward, big open space in our basement that I knew would be perfect to turn into a playroom area for our little guy. Full disclosure, as a first-time mom, my naïveness tends to get the best of me and I didn’t really consider the fact that he wouldn’t actually play with anything in this playroom for many months (if not a year!)… still, while I was pregnant, I designed both our nursery AND our playroom at the same time and bought toys for the playroom that were WAYYY outside of his age recommendations! Don’t call me too crazy, I was just excited and I hadn’t been around very many newborns!
I don’t actually regret it though, for one, it made the space really cute and we still used the playmats for him to practice tummy time. For two, any new mom knows that although the days are long, the months fly by and it really didn’t take long before he WAS actually playing in the room with the toys! It’s been so fun to watch!
Pinterest seems to be full of “over the top” playrooms these days, and trust me, although I’d love to have one of those crazy rooms with the foam pits and climbing walls, I wanted a playroom that would be cute, functional, and one that would be easy enough to change as he got older. Follow these simple tips if that’s your goal for your playroom too!
This post may contain affiliate links, which means I’ll receive a small commission if you purchase through my links, at no extra cost to you. Please read full disclosure for more information.
1. Start with a “centerpiece” and design around it
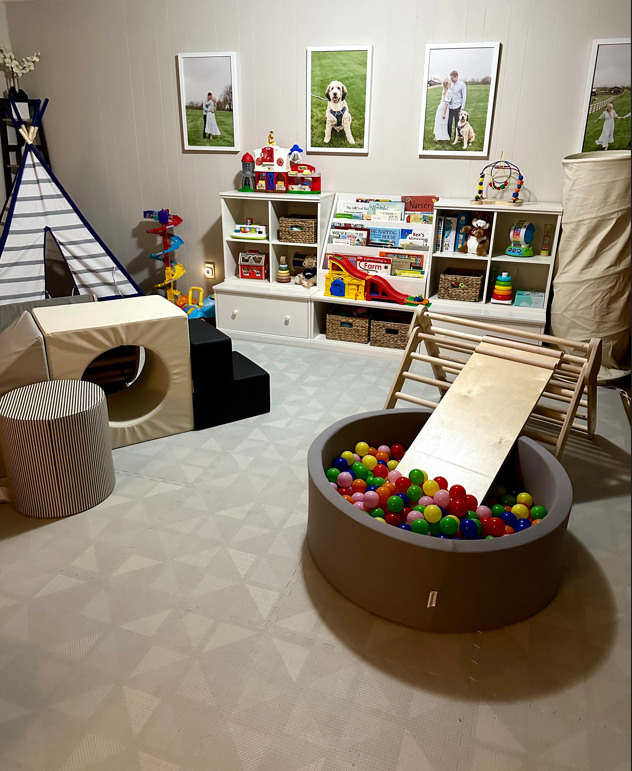
I knew I wanted the room to include a bookshelf. I loved books as a kid and I hope the same for my kid(s)! And I wanted the books to be easily displayed so he could still reach them or see and point to the ones he wanted to read. So I started my research and landed upon the Pottery Barn Cameron Cubby Wall System with the bookrack (not sponsored!). It was the perfect “centerpiece” to design a playroom around! It’s solid and sturdy, meaning IF (haha WHEN) he climbs on it, it’s not going anywhere! It was time consuming, but simple enough to put together. It looks great and really is great quality!
You can get it when it goes on sale occasionally, it’s definitely worth the investment and I trust it will be the centerpiece of our playroom for many years, even if everything else changes around it!
2. Get a playmat that won’t move and can handle messes!
Next, I knew I wanted to find a high-quality playmat. There are SO many options out there these days that it’s overwhelming! I really didn’t want to get one and put it all together just to find out that the material is cheap or that it moves under you while you play. That’s why I’m soooo glad I found the House of Noa playmats! (Again, not sponsored!). These are truly such high-quality and beautifully designed mats!
We ended up getting the Little Nomad Play Mat Gallery print in the color “Terrazzo” (which is like a grey) and it complements the other colors and rug I already had in this space. I got the 10×12 box and that aligns perfectly with the size of the Pottery Barn cubby wall system we had already set up. It’s plenty of space for lots of play! And it’s very wipeable! Luckily we haven’t had too many messes on it yet, but for the ones we have had, it cleans up perfectly!
3. Find functional, but cute baskets for toy storage
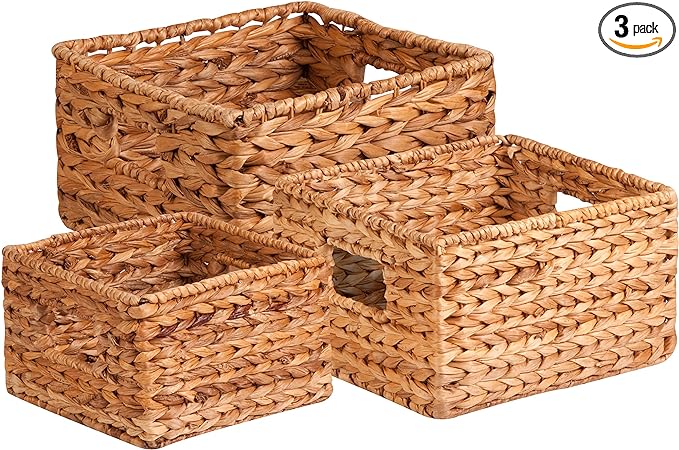
I really didn’t want to splurge for the VERY cute Pottery Barn baskets and instead found these cute storage bins to add to the cubby wall system. They’re well-made and can handle some toddler abuse, all while still looking very aesthetically pleasing! We put his toy cars in one and some miscellaneous toys in the others.
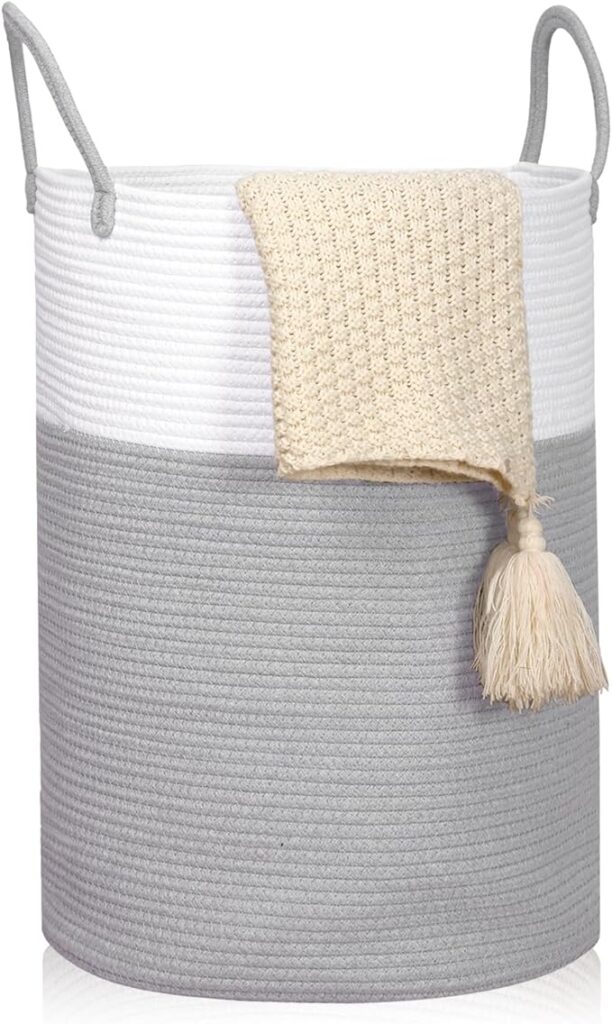
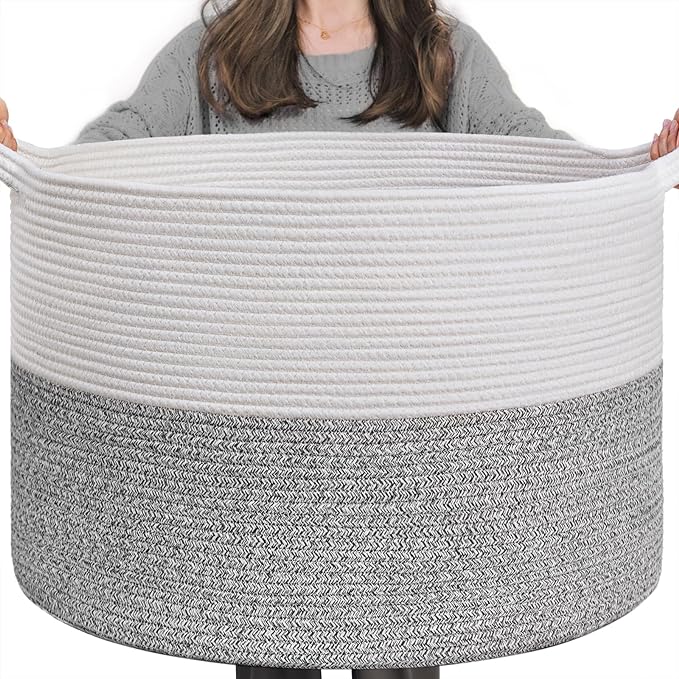
I wanted a larger, more “column” shaped bin for some of his push toys and toy vacuum, so I found this one that works great to hold those, and he even pulls them in and out himself now! Then I found a matching one that was rounder and shorter, perfect for all his stuffed animals! There are plenty of these types of bins out there… these are just ideas to get you started!
4. Add a play tent!
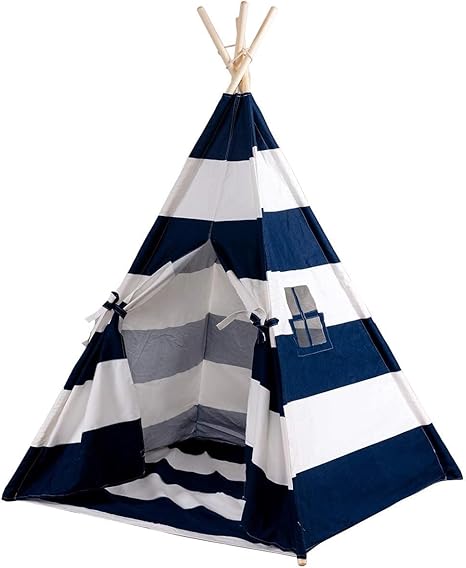
This was a toy that took some growing into, but really looks so cute in the playroom! We got this adorable play tent for him when he was about 15 months old (a little early!) and he wasn’t very interested in it at first, but as he’s gotten older, he likes going in there more often and especially playing peekaboo by pulling the “doors” open and shut really quickly! It really gives us a good laugh!
I’ve also found that it serves a dual purpose, by being another storage location for random things like his toy piano or his favorite doodle sketch table. It’s a great way to hide away miscellaneous toys to keep the room looking nice and cute!
5. Don’t forget some climbing toys!
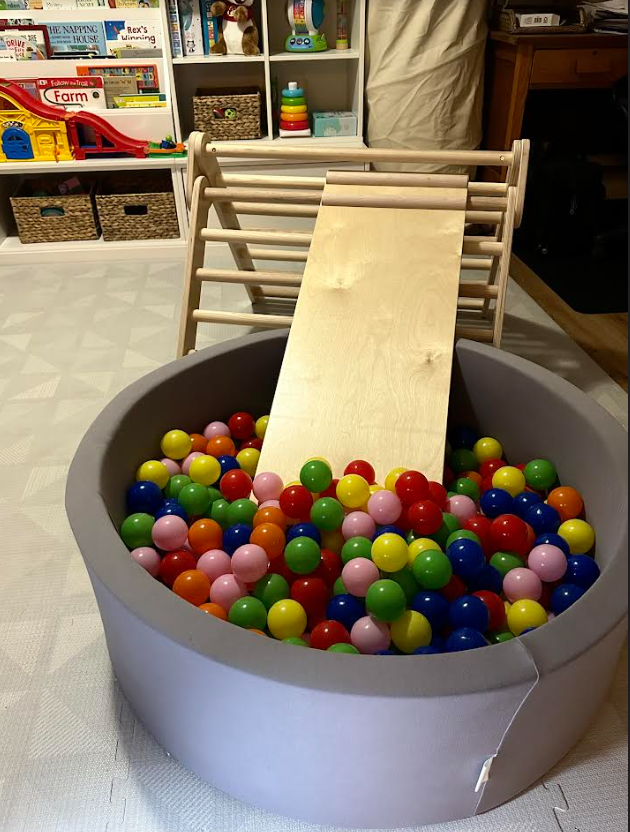
If I’m being honest, the bookshelf cubby system may not have been my first inspiration for designing the playroom area… It was really these adorable climbing toys! I saw an ad somewhere for these Lily and River climbing toys. And I knew he just had to have them! I bought them before he was born LOL! (yes, I am crazy!) He is just now starting to really enjoy them. It’s so fun to watch him take his time and really try and figure out how to climb this thing! We also recently added the ball pit to the bottom of the slide, which has been entertaining itself!
We also got the Lily and River rocker. I think I get the most enjoyment out of this because I lay on it and rock while he plays! Sometimes he likes to snuggle up to me on it and we rock together and read a book! It’s really a fun little accessory with multiple uses. If you flip it over, it too because a climbing toy! (I’m not sponsored by this company!)
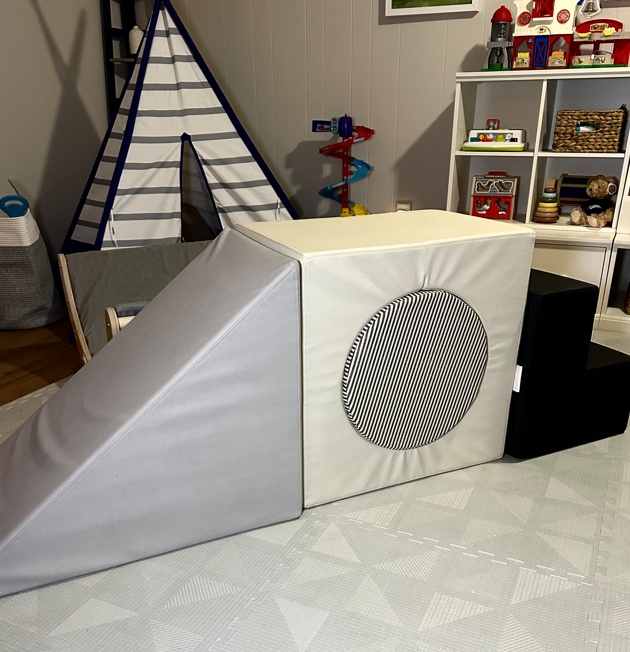
As if he needs more climbing toys, but he actually LOVES this climbing block set from Gathre (again, not sponsored!). It has a slide too which he loves! These are great quality products and I like that the material is easily wipeable too. He can move them around into different configurations and the climbing possibilities are endless! We also have the play tunnel from Gather that is adorable to watch him crawl in and out of. And we even got this awesome floor cushion from Gather. He loves to “fall” on to it and mom likes to lay on it too while he plays!
6. Separate your “Pretend Play” area from the climbing area
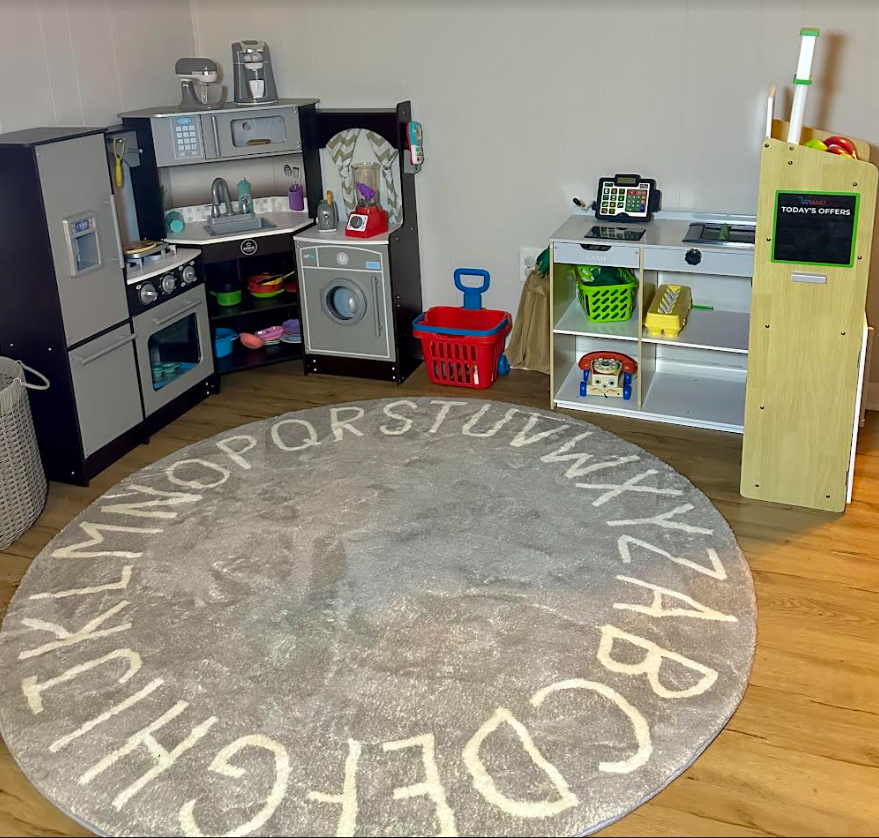
I will say, I didn’t necessarily do this on purpose, but it really worked out well for the design and flow of our basement play space. We have his toy kitchen and grocery store set up off to the side. This is in a more separate location from the climbing and more “rough house” toys. I think this works well, because as he grows up and uses his imagination more, his kitchen/grocery store area will be set up like a real place vs having a big block set or climbing toys in the middle of it! Right now though, most of the plastic kitchen utensils and food also end up over in the climbing area LOL!
We added this super cute alphabet rug to complete this area of the room. I was shocked at how soft it is! I love laying on this too! (It is starting to sound like all I do is lay around while he plays hehe!)
7. Keep the area childproof
Last but not least, it’s important to try and make the area as childproof as possible. My husband still has his work desk down there in the corner. For the most part our son leaves that area alone. We also have a few different tall bookshelves that I’ve strategically placed the other furniture around so he can’t get to them and pull them down or anything off them. It would be great if the whole space was a play area, but I like it being a functional space we can still use too. Maybe some day it will be an entire play area though. 🙂
Let me know if there’s things or toys I need to add to our playroom as he gets older! Reach out here!


